Frontend Guide
The fox3 operator console is a React web app served at http://<server>:8080. All actions — creating listeners, tasking agents, reviewing job output — happen through this interface. There is no separate CLI.
Starting the server
# Windows
go build -o fox3_server.exe .
.\fox3_server.exe --password <your-password>

# Linux
go build -o fox3_server .
./fox3_server --password <your-password>
The server prints its address on startup:
INFO Starting REST API server addr=0.0.0.0:8080
INFO API server listening on 0.0.0.0:8080 (WS-only)
Open http://localhost:8080 in a browser.
For remote access, proxy port 8080 behind nginx/Caddy with TLS. The operator console itself does not require HTTPS — that is for the agent listener, configured separately.
Login
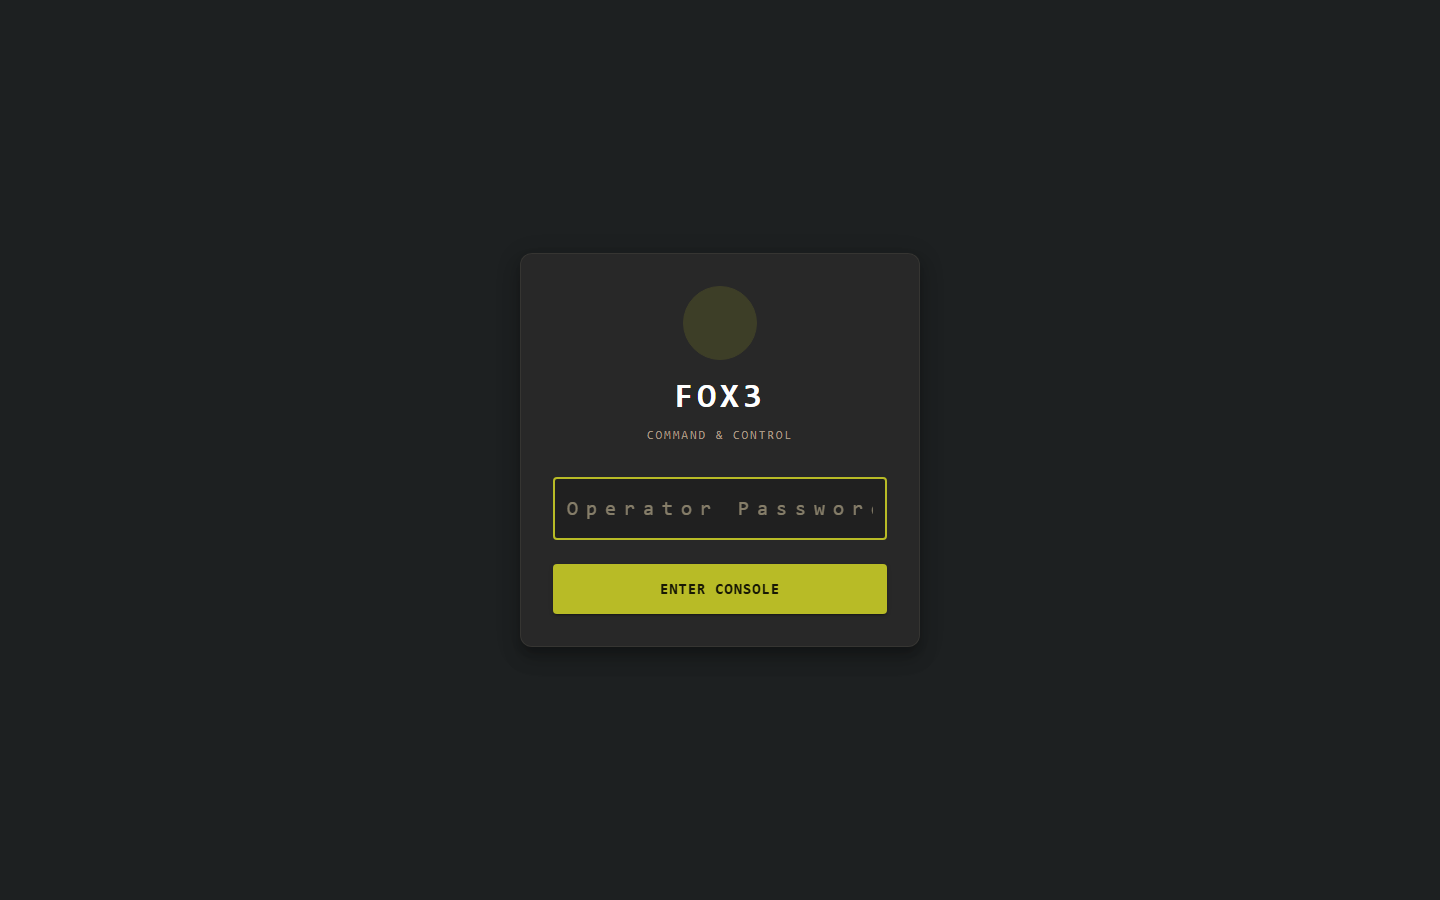
Enter the password you passed with --password (default: fox3). The server issues a 24-hour JWT on success. The console uses this token for all subsequent WebSocket communication.
Rate limiting: After 5 consecutive wrong passwords from the same IP, the login endpoint locks that IP out for 15 minutes.
Navigation
After login the left sidebar is your primary navigation:
| Item | Description |
|---|---|
| Agents | Connected agents — the main workspace |
| Listeners | C2 endpoints that agents call back to |
| Topology | Live network graph of server → listeners → agents |
| Screenshots | Agent desktop captures |
| Credentials | Harvested credential store |
| Disconnect | Logs out and returns to the login screen |
Numeric badges on sidebar items show live counts (e.g. “Listeners 1”).
Agents
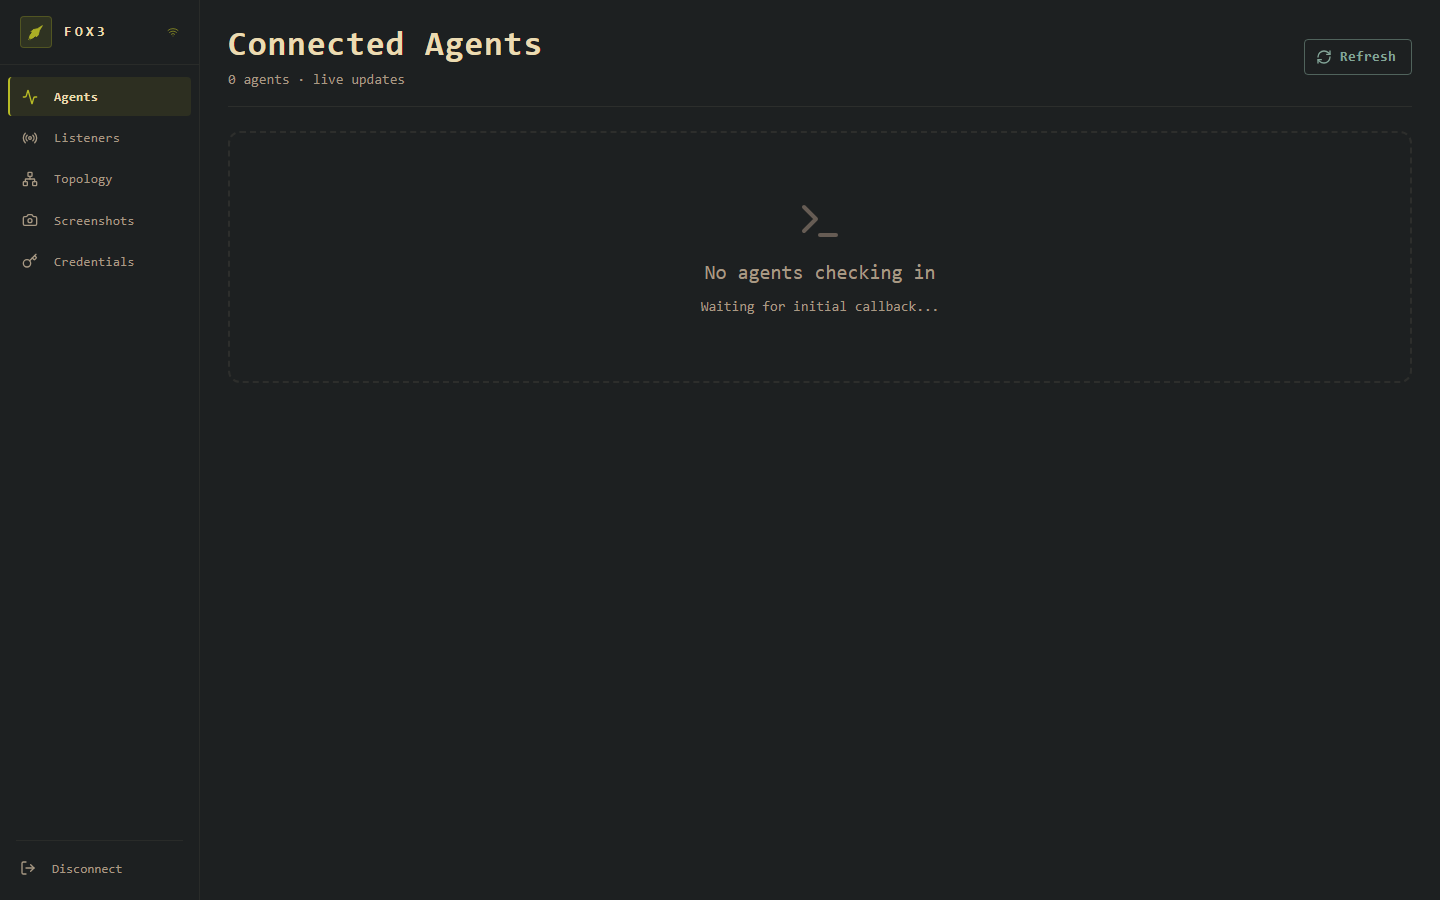
The Connected Agents view is the main workspace. It shows every agent that has ever checked in with a live status. The subtitle shows “live updates” — the count and agent cards refresh automatically via WebSocket push whenever an agent checks in; you do not need to click Refresh.
Agent status colours
| Status | Meaning |
|---|---|
| Active | Checked in within one sleep period |
| Delayed | Between 1× and 3× the sleep interval since last checkin |
| Dead | More than 3× the sleep interval — likely lost |
When an agent connects, its card appears immediately showing hostname, username, process, platform, integrity level, and last check-in time. Click the card to open the agent detail view with a command terminal.
Agent detail / terminal
The agent detail view (click any agent card) contains:
- Info panel — hostname, username, PID, platform/architecture, sleep interval, integrity
- Command terminal — type any command from commands.md and press Enter; output appears when the agent checks in on its next sleep cycle
- Jobs table — all pending and completed jobs with status and output
- Note field — free-text annotation attached to the agent
Example session:
> whoami
CORP\administrator

> ls C:\Users
.  ..  Administrator  Public  victim

> sleep 10s
sleep updated to 10s
Listeners
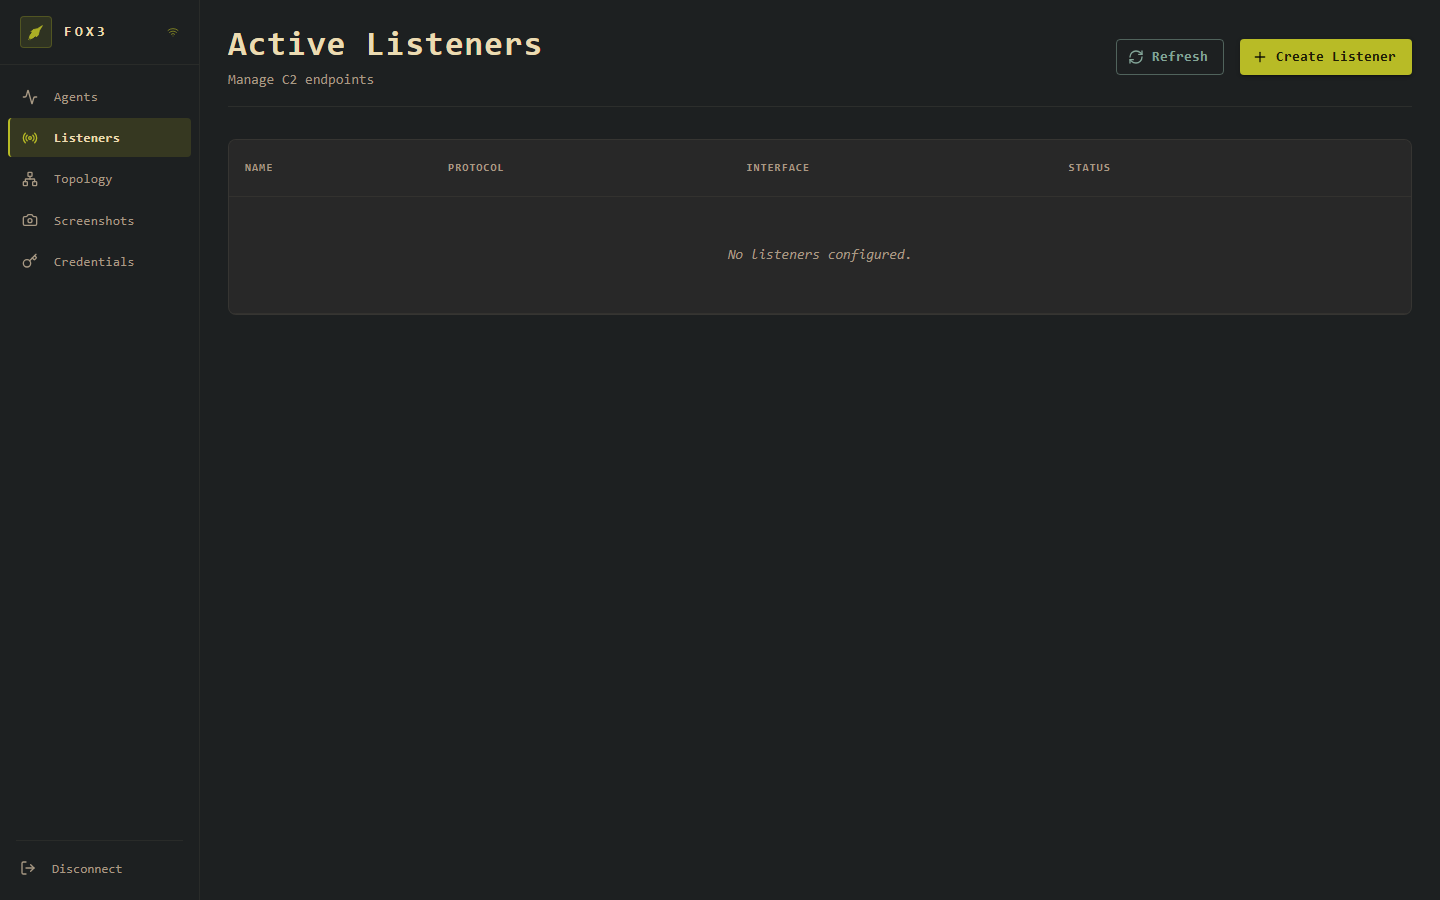
Active Listeners shows every listener currently in memory. Listeners are the C2 endpoints your agents call back to. They are in-memory only — they do not survive a server restart.
The table columns are:
| Column | Description |
|---|---|
| Name | The label you gave the listener |
| Protocol | Badge showing the transport (HTTPS, HTTP, etc.) |
| Interface | Bind address and port (e.g. 0.0.0.0:443) |
| Status | Active or Stopped |
| ▶ | Start a stopped listener |
| 🗑 | Delete the listener (stops it first) |
Creating a listener
Click + Create Listener to open the creation dialog.
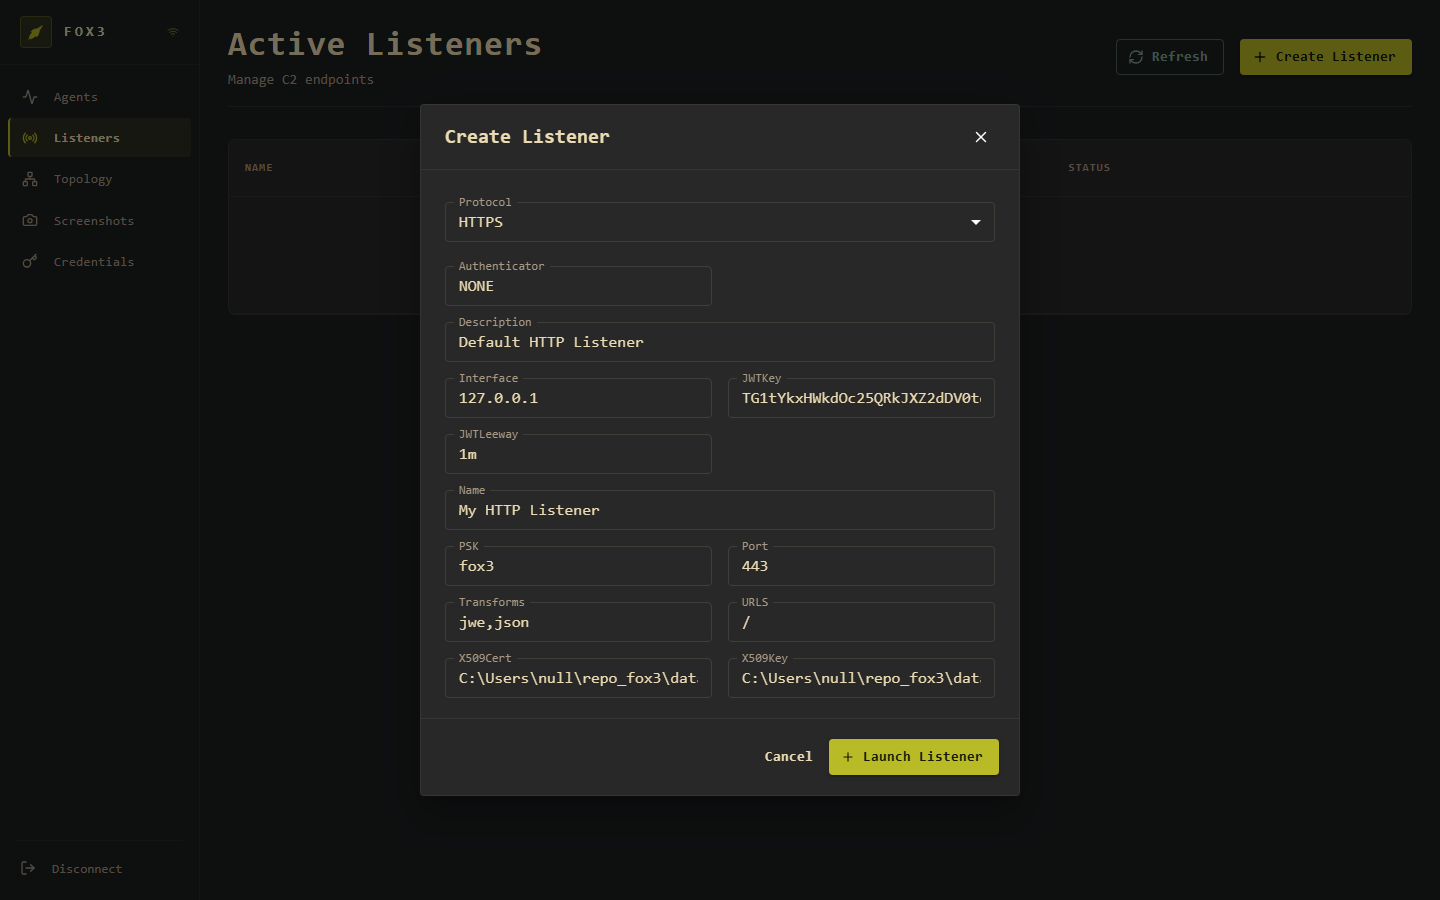
Fields:
| Field | Default | Description |
|---|---|---|
| Protocol | HTTPS | Transport type. Choose HTTPS for production, HTTP for local testing |
| Authenticator | NONE | NONE (PSK only) or OPAQUE (strong authentication) |
| Description | Default HTTP Listener | Free text label |
| Interface | 127.0.0.1 | IP address to bind. Use 0.0.0.0 to listen on all interfaces |
| JWTKey | (auto-generated) | Base64-encoded signing key for agent session JWTs. Leave blank to auto-generate |
| JWTLeeway | 1m | Clock-skew tolerance for JWT expiry validation |
| Name | My HTTP Listener | Display name shown in the table |
| PSK | fox3 | Pre-shared key. Change this. The agent must be compiled with the matching PSK |
| Port | 443 | TCP port to bind |
| Transforms | jwe,json | Encode/encrypt pipeline. Must match the agent’s compiled pipeline |
| URLS | / | URL paths the agent handler mounts on |
| X509Cert | (auto path) | Path to PEM certificate (HTTPS/HTTP2/HTTP3 only) |
| X509Key | (auto path) | Path to PEM private key (HTTPS/HTTP2/HTTP3 only) |
Click + Launch Listener to create it. A “Listener created” toast confirms success and the row appears in the table immediately.
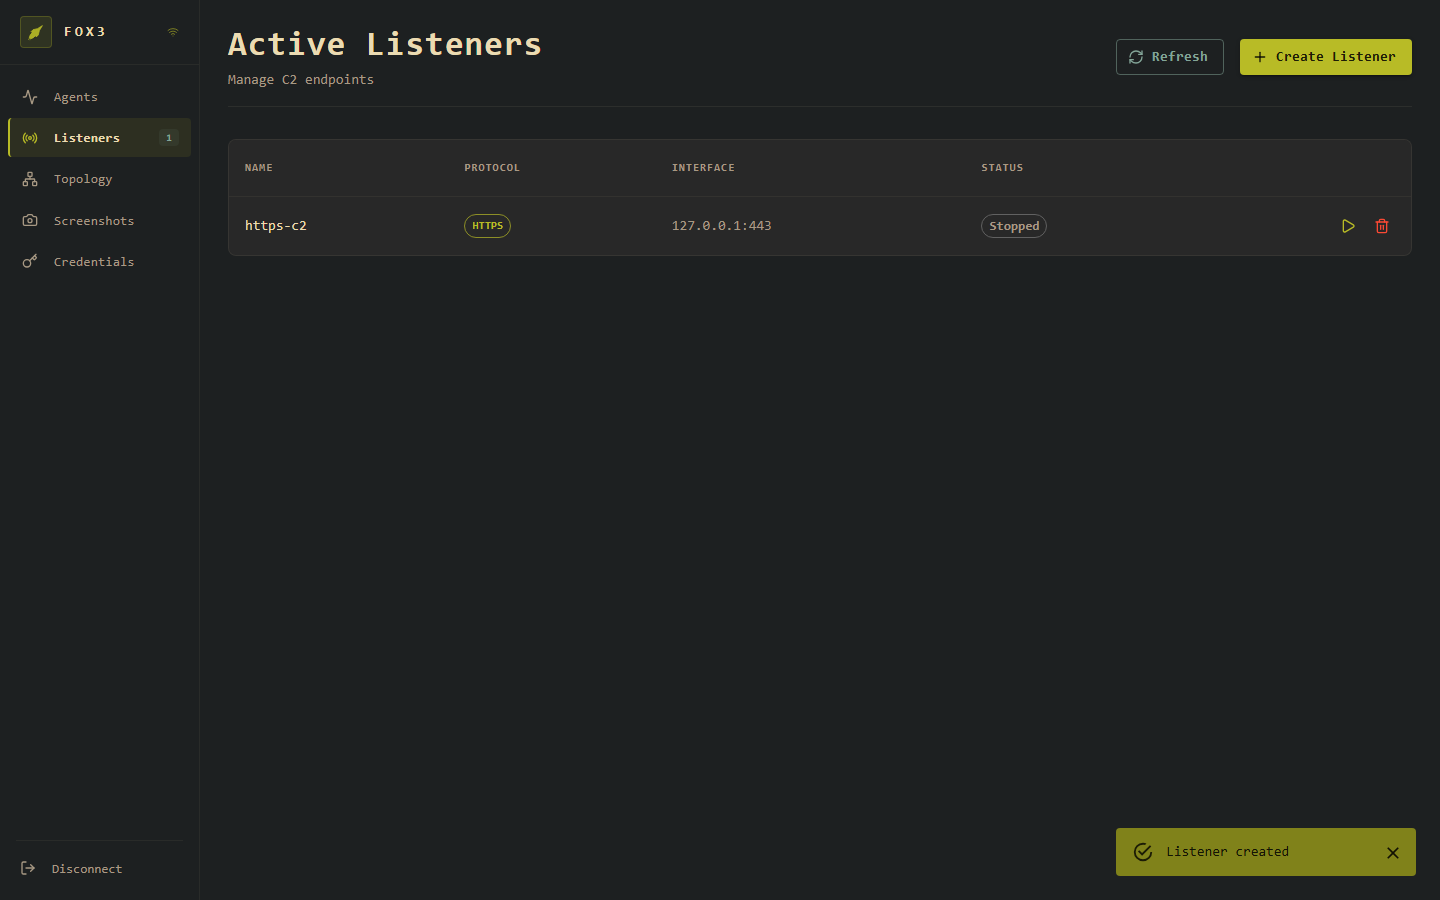
The listener is created in Stopped state. Click ▶ in the row to start it — it will then begin accepting agent connections.
Quick start: HTTPS listener for production
Before creating the listener, generate a certificate:
# Self-signed (testing)
mkdir -p data/x509
openssl req -x509 -newkey rsa:4096 -keyout data/x509/server.key \
  -out data/x509/server.crt -days 365 -nodes -subj "/CN=your.domain.com"
In the Create Listener dialog:
- Protocol: HTTPS
- Interface: 0.0.0.0
- Port: 443
- PSK: (strong random string — must match agent compile-time PSK)
- X509Cert:
data/x509/server.crt - X509Key:
data/x509/server.key
Click + Launch Listener, then ▶ to start it.
Topology

The Network Topology view renders the infrastructure as a live graph:
| Shape | Represents |
|---|---|
| Hexagon | Fox3 Teamserver |
| Diamond | Listener |
| Square (red) | Agent — SYSTEM integrity |
| Square (orange) | Agent — HIGH integrity |
| Square (grey) | Agent — MEDIUM or LOW integrity |
Edges connect teamserver → listener → agent, and agent → pivot agent for chained deployments. The badge strip at the top (“1 server · 1 listener · N agents”) updates in real time.
Click any node to see its label and details.
Screenshots
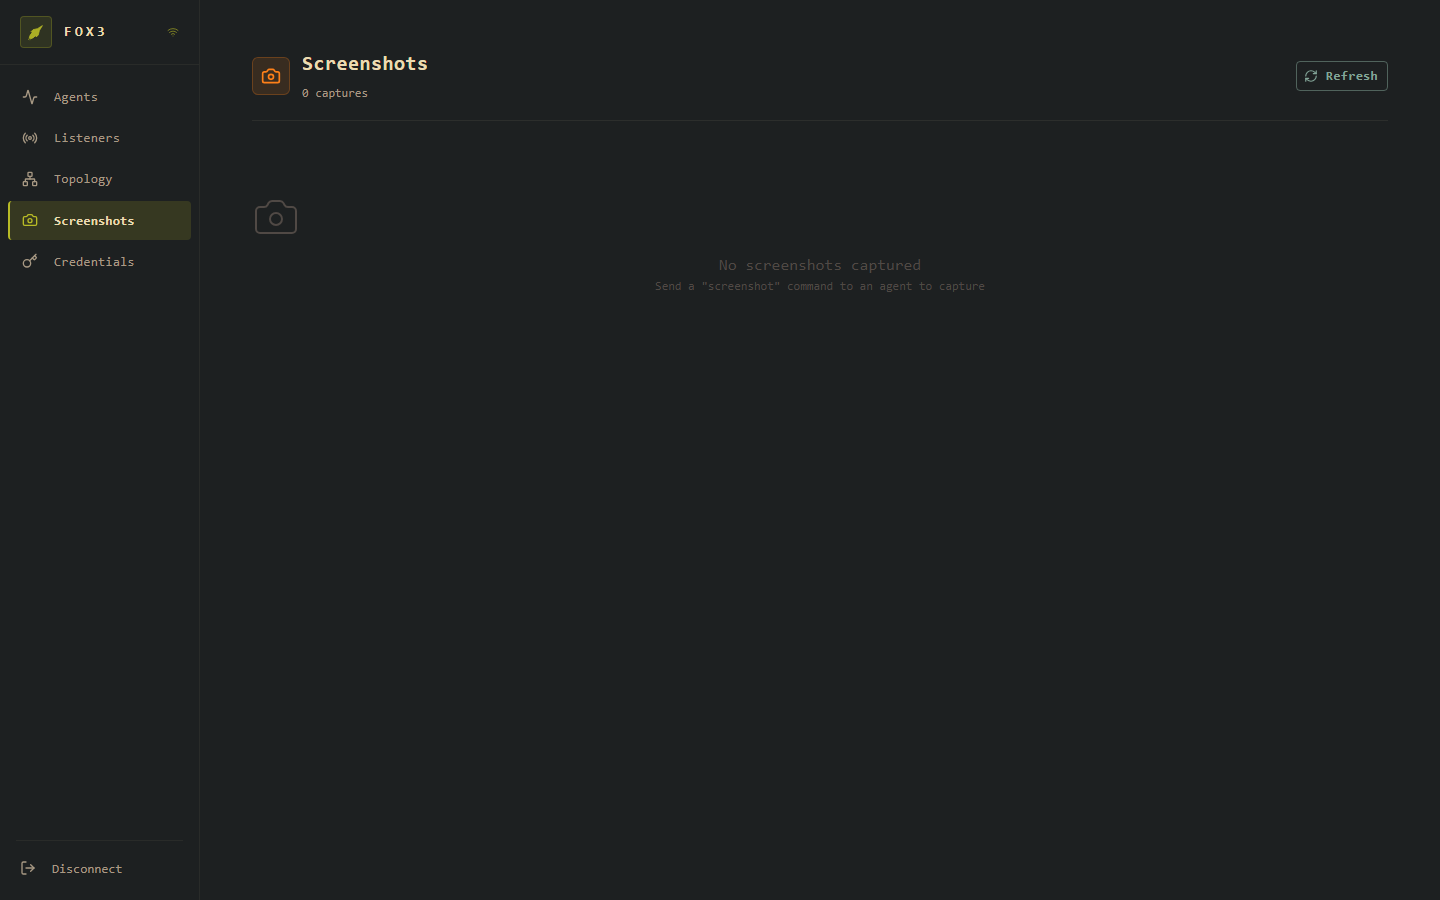
Screenshots are taken by sending the screenshot command to an agent from the agent terminal:
> screenshot
The agent captures the screen on its next check-in and returns the data to the server. It appears in the gallery immediately. Click any thumbnail to view full-size. Each entry shows the agent UUID, timestamp, and an optional note.
Credentials
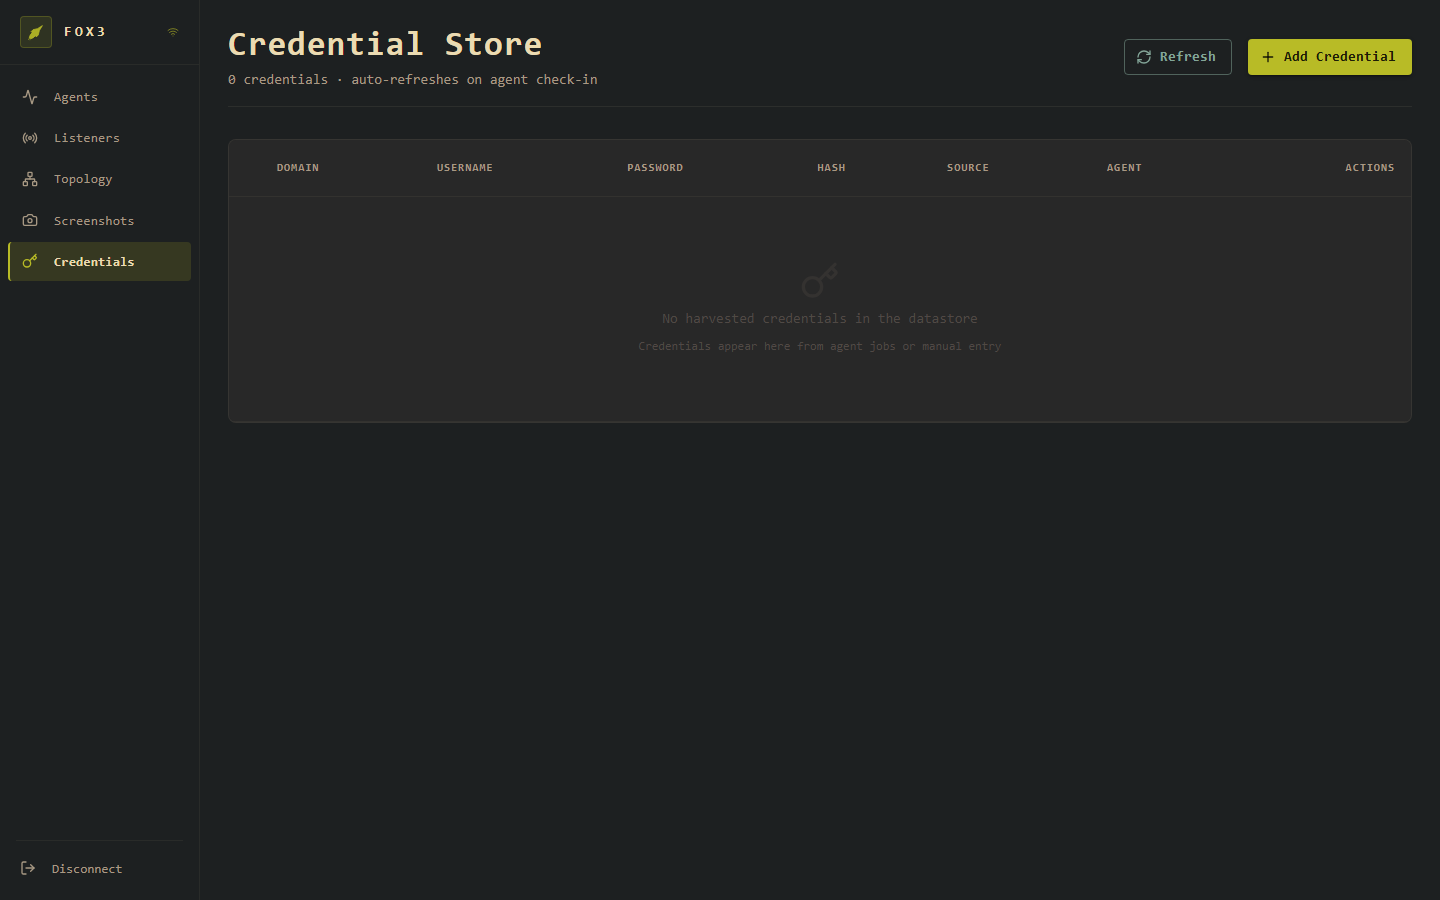
The Credential Store collects credentials from:
- Agent jobs that return credential data (e.g. mimikatz output processed by the agent)
- Manual entry via + Add Credential
The table shows DOMAIN, USERNAME, PASSWORD, HASH, SOURCE, and the AGENT that retrieved them. Credentials persist in SQLite across server restarts.
Manually adding a credential:
Click + Add Credential and fill in any fields that are known (hash alone, or full plaintext, etc.). The source field is freetext — use it to note the technique (secretsdump, kerberoast, lsass, etc.).
WebSocket connectivity indicator
The WiFi icon in the top-left header shows WebSocket connection state:
- Solid — connected, receiving live updates
- Faded/animated — reconnecting
If the icon shows disconnected, the browser has lost the WebSocket session (server restart, network blip). The app will attempt to reconnect automatically. If it does not, click Disconnect and log in again.
Workflow: from zero to first agent
- Start the server
./fox3_server --password <pw> -
Log in at
http://localhost:8080 - Create a listener (Listeners → + Create Listener)
- Set Interface to
0.0.0.0, Port to443, PSK to your chosen key - For HTTPS: provide cert/key paths
- Click Launch Listener, then ▶ Start
- Set Interface to
- Build the agent with matching PSK and server address
- See fox3_agent for agent build instructions
- The agent’s
C2_URL,PSK, andTransformsmust match the listener
-
Deploy the agent to the target
-
Wait for callback — the Agents page will show the agent card the moment it checks in, with no manual refresh needed
- Task the agent — click the agent card, type commands in the terminal
Keyboard shortcuts
| Key | Action |
|---|---|
| Enter | Submit command in agent terminal |
| ↑ / ↓ | Navigate command history in terminal |
| Esc | Close modal dialogs |